
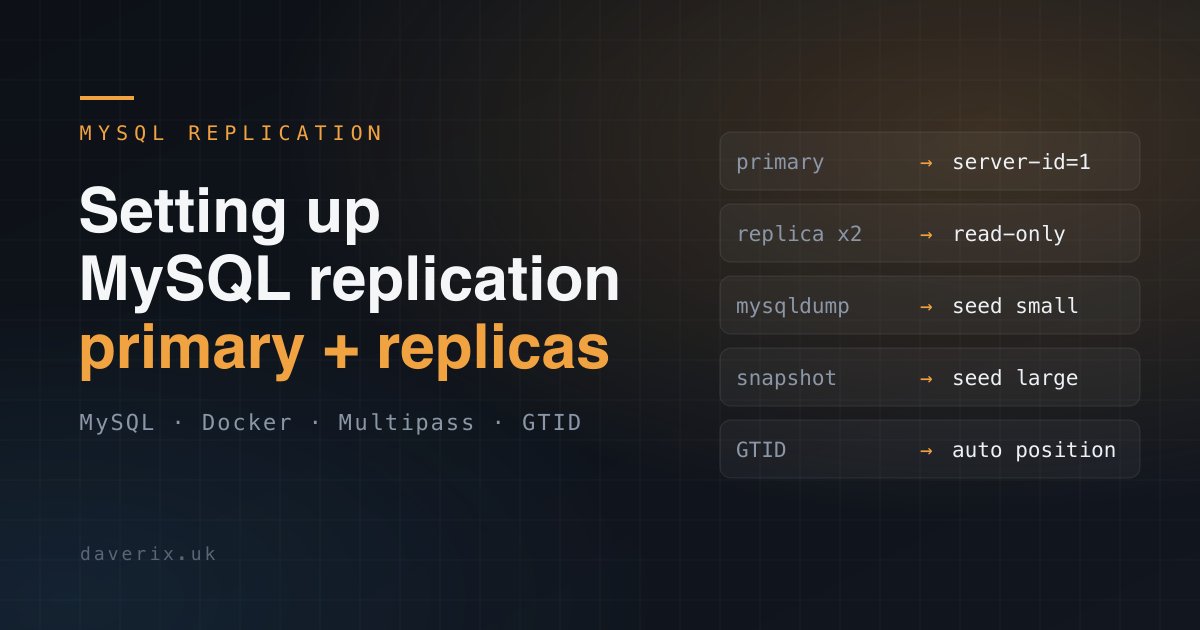
This post is the second in the MySQL test environment series. The first post covers building a single-instance environment using Docker or Multipass and loading test datasets. This post extends that environment to a primary with two or three replicas, configures standard MySQL replication between them, and covers two approaches to seeding replica data: mysqldump and snapshot.
Architecture
The target topology is one primary and two replicas, giving a realistic cluster to test against. All instances run MySQL 8.0. The setup works identically with three or four instances — add extra replica blocks to the compose file or additional Multipass instances as needed.
mysql-primary  :3306   (read/write)
mysql-replica1 :3307   (read-only)
mysql-replica2 :3308   (read-only)
Docker approach
MySQL configuration files
Each instance needs a unique server_id and the primary needs binary logging enabled. Create a config folder with one file per instance.
config/primary.cnf:
[mysqld]
server-id          = 1
log-bin            = mysql-bin
binlog-format      = ROW
gtid-mode          = ON
enforce-gtid-consistency = ONconfig/replica1.cnf:
[mysqld]
server-id          = 2
relay-log          = relay-bin
read-only          = 1
gtid-mode          = ON
enforce-gtid-consistency = ONconfig/replica2.cnf:
[mysqld]
server-id          = 3
relay-log          = relay-bin
read-only          = 1
gtid-mode          = ON
enforce-gtid-consistency = ON
docker-compose.yml
version: '3.8'
services:

  mysql-primary:
    image: mysql:8.0
    container_name: mysql-primary
    volumes:
      - ./data/primary:/var/lib/mysql
      - ./config/primary.cnf:/etc/mysql/conf.d/replication.cnf
    environment:
      - MYSQL_ROOT_PASSWORD=secret
    ports:
      - "3306:3306"

  mysql-replica1:
    image: mysql:8.0
    container_name: mysql-replica1
    volumes:
      - ./data/replica1:/var/lib/mysql
      - ./config/replica1.cnf:/etc/mysql/conf.d/replication.cnf
    environment:
      - MYSQL_ROOT_PASSWORD=secret
    ports:
      - "3307:3306"
    depends_on:
      - mysql-primary

  mysql-replica2:
    image: mysql:8.0
    container_name: mysql-replica2
    volumes:
      - ./data/replica2:/var/lib/mysql
      - ./config/replica2.cnf:/etc/mysql/conf.d/replication.cnf
    environment:
      - MYSQL_ROOT_PASSWORD=secret
    ports:
      - "3308:3306"
    depends_on:
      - mysql-primary
$ docker-compose up -dMultipass approach
Launch three instances and install MySQL on each as described in the previous post. Then apply per-instance configuration before setting up replication.
# Launch all three instances
$ multipass launch --name mysql-primary --memory 2G --disk 20G
$ multipass launch --name mysql-replica1 --memory 2G --disk 20G
$ multipass launch --name mysql-replica2 --memory 2G --disk 20G
On each instance, install MySQL and apply the appropriate config. On the primary:
# On mysql-primary
$ sudo tee /etc/mysql/mysql.conf.d/replication.cnf <<EOF
[mysqld]
server-id=1
log-bin=mysql-bin
binlog-format=ROW
gtid-mode=ON
enforce-gtid-consistency=ON
EOF
$ sudo systemctl restart mysql
On each replica (adjust server-id to 2 and 3 respectively):
# On mysql-replica1 (use server-id=3 for replica2)
$ sudo tee /etc/mysql/mysql.conf.d/replication.cnf <<EOF
[mysqld]
server-id=2
relay-log=relay-bin
read-only=1
gtid-mode=ON
enforce-gtid-consistency=ON
EOF
$ sudo systemctl restart mysql
Seeding the replicas
Before starting replication, each replica needs a copy of the primary’s data. Two approaches are covered here. The right choice depends on dataset size.
Approach 1: mysqldump (sakila / employees scale)
Suitable for datasets up to a few hundred MB. Takes a consistent snapshot using a single transaction, preserving GTID position information for GTID-based replication.
# Dump from the primary
$ mysqldump -h 127.0.0.1 -P 3306 -u root -psecret \
    --all-databases \
    --single-transaction \
    --set-gtid-purged=ON \
    --routines --triggers \
    > primary-dump.sql

# Restore on each replica
$ mysql -h 127.0.0.1 -P 3307 -u root -psecret < primary-dump.sql
$ mysql -h 127.0.0.1 -P 3308 -u root -psecret < primary-dump.sql
Approach 2: data directory snapshot (IMDb scale)
For large datasets where a mysqldump would take too long, copying the data directory is faster. Requires stopping MySQL first to guarantee consistency.
Docker:
# Stop all containers
$ docker-compose down

# Copy the primary data directory to each replica
$ cp -a data/primary/. data/replica1/
$ cp -a data/primary/. data/replica2/

# Restart
$ docker-compose up -d
Multipass:
# Stop MySQL on the primary
$ multipass exec mysql-primary -- sudo systemctl stop mysql

# Take a snapshot
$ multipass snapshot mysql-primary --name seed-data

# Restart primary MySQL
$ multipass exec mysql-primary -- sudo systemctl start mysql

# Clone the snapshot to each replica (stop replica MySQL first)
$ multipass exec mysql-replica1 -- sudo systemctl stop mysql
$ multipass transfer mysql-primary:/var/lib/mysql mysql-replica1:/var/lib/
$ multipass exec mysql-replica1 -- sudo systemctl start mysql
Configuring replication
Create the replication user on the primary
-- Connect to the primary
mysql -h 127.0.0.1 -P 3306 -u root -psecret

CREATE USER 'replicator'@'%' IDENTIFIED BY 'repl_secret';
GRANT REPLICATION SLAVE ON *.* TO 'replicator'@'%';
FLUSH PRIVILEGES;

-- Verify GTID and binary log status
SHOW BINARY LOG STATUS\G
Start replication on each replica
Connect to each replica in turn. For Docker, the SOURCE_HOST is the container name. For Multipass, use the primary’s IP address.
-- MySQL 8.0+ syntax
CHANGE REPLICATION SOURCE TO
  SOURCE_HOST='mysql-primary',
  SOURCE_USER='replicator',
  SOURCE_PASSWORD='repl_secret',
  SOURCE_AUTO_POSITION=1;

START REPLICA;
SHOW REPLICA STATUS\G
For MySQL 5.7, the legacy syntax is equivalent:
-- MySQL 5.7 syntax
CHANGE MASTER TO
  MASTER_HOST='mysql-primary',
  MASTER_USER='replicator',
  MASTER_PASSWORD='repl_secret',
  MASTER_AUTO_POSITION=1;

START SLAVE;
SHOW SLAVE STATUS\G
Verify replication is running
In the SHOW REPLICA STATUS output, confirm both of these are Yes:
Replica_IO_Running: Yes
Replica_SQL_Running: Yes
Seconds_Behind_Source: 0
Test by writing to the primary and reading from a replica:
-- On the primary
CREATE DATABASE repl_test;
CREATE TABLE repl_test.check_table (id INT, val VARCHAR(50));
INSERT INTO repl_test.check_table VALUES (1, 'replication working');

-- On each replica (should appear within seconds)
SELECT * FROM repl_test.check_table;
Upgrade testing with replication
With a running cluster and test data loaded, you can test rolling upgrade scenarios. The standard approach is to upgrade replicas first, verify replication continues, then promote and upgrade the primary.
# Docker: upgrade replica1 first
# Update image tag to mysql:8.4 in docker-compose.yml for mysql-replica1 only
$ docker-compose up -d mysql-replica1

# Monitor replication status on the upgraded replica
$ mysql -h 127.0.0.1 -P 3307 -u root -psecret -e "SHOW REPLICA STATUS\G" | grep -E "Running|Behind|Error"

# Once verified, upgrade replica2, then primary